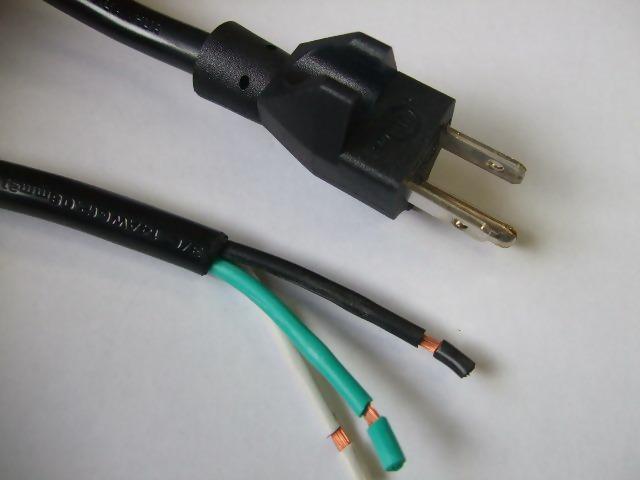
Broken Electrical cord: What to Do?
You may have a pet that likes biting things around the house. Perhaps you tripped over the cable accidentally, and it broke. Whatever the cause, the current situation is that you have a broken cord, and you don’t know how to fix it.
In this article, we are providing a step by step guide on how to repair a cord. It doesn’t matter if you stepped on it, or pulled it and left the wires exposed. If the damage is fixable, you can resolve the issue by following the guide below.
Step 1: Turn Off the Power
If you want to repair an electrical cord, there must be no electricity while you are fixing it. An energized cord, especially if it is damaged, is a big safety hazard.
You want to do two things to de-energize the cord:
- Turn off the power on the product that utilizes the cord
- Pull the cord out of the power socket – the safest way is to pull the cord by the plug. Although it is already damaged, you don’t want to risk damaging it even more.
Now, it is time to inspect the ends of your electric cord. Once you are sure you turned off the power, use your hands to check the end of the cord you can access. If the cable is damaged, the chances are you will notice prongs on its end.
Feel free to touch these prongs with your hand because there’s no power to hurt you now. If you feel the end of the cord is warm, that may be a sign of a potential issue. However, we will return to that later. Once you confirm there is (no) warmth, analyze the cable to see any darkenings, meltings, or burnings. You might find some around the prongs.
Step 2: Look for Other Damages

The broken cord is an obvious issue, but it might not be the only one you should resolve.
You want to analyze the cord carefully. Go through the complete cord length, and look for potential problems. Put special focus on tears, and use a magnifying glass to identify burns and minor cuts.
Apart from your eyes, don’t hesitate to use your hands. Feel the entire cord section by section, and if any spot feels weird, analyze it with a magnifying glass. Some damages may be superficial, and you can let them be for now. However, if you think that an issue could lead to massive wear and tear, you should consider resolving that problem, too.
Step 3: Make Sure You Know Which Plug You Are Dealing With
You might not be aware, but plugs can have polarized caps and cords. These are still popular in some appliances, as well as ungrounded cords. If you have a new power cord, the chances are you are not dealing with a polarized unit.
The main characteristic of polarized plugs is that there is only a single proper way of inserting it into the outlet. You will notice a connection of the caps to a two-wire cable. It will be easy to identify the differences between the two wires. These are the things you might notice:
- The cord has a ridge throughout its long side.
- The conductors have different colors.
- Printed data informs you about the specifics of the cord.
In case you need to repair a polarized plug, you want to ensure to connect wires to the right blades during the process.
Step 4: Repair Time
Once you identified the location of the damage, choose the best place to cut the cable. It should be close to the damaged spot so that you don’t lose too much of the cord, but also far enough to handle the repair effortlessly.
The most common wires you may encounter include:
- Black, brown, or red – hot
- Yellow or green – earth or ground
- Gray, blue, or white - neutral
You want to connect the neutral wire to the wide blade. The ground blade should be attached to a ground wire and hot wire to the narrow blade.
Before you continue, double-check that you connected everything properly. If you connect them the wrong way, it may blow a fuse or bigger issues.
Step 5: Final Touches

It is time to tighten everything and complete the repair process. You should avoid tightening the cord cap connectors too tight.
Once everything is done, you should test the cord. We don’t recommend plugging the cable into an energized outlet. Instead, make sure to turn the power off in that socket, and then plug in the cord. Now, turn the power switch on your device on, and re-energize the outlet. That way, you will test the cord without touching anything, which is a safety measure.
If everything works, you’ve completed the guide, and repaired the cord! But if the cord doesn’t work, you may want to return to the previous steps, and find out what you did wrong.
Additionally, you may need to clean the electrical outlet, but be careful during the process because it is highly risky.
Finally, you should avoid repairing the same cord more than once. These cables are not that expensive, and it is much safer to buy a new one than repairing the existing unit. After all, you and your household members’ safety should be your primary concern. That is why you should ensure that all cords in your house or apartment are free of any issues to work flawlessly.


